GitHub Repository: here
This work was done in the context of a Stanford Senior Design Project, specifically to mount a tablet being used for Smartphone User Interface Cloning.

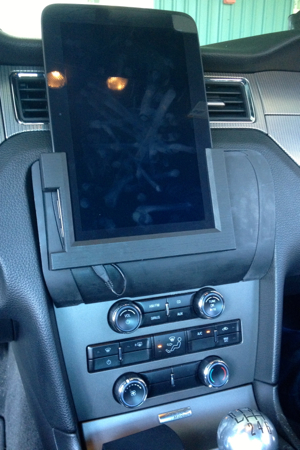
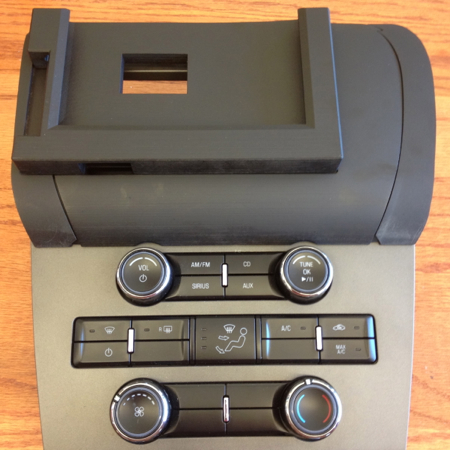
The 3D printed tablet mount is a way to hold a variety of smart-devices in a solid and safe position, symbolically hiding the infotainment features that the smart device replaces. The configuration shown is holding a Google Nexus 10 tablet in a SYNC 1.5 Ford Mustang.
The big picture motivation including explaining why good smart device integration is important, is discussed in Stanford Senior Design Project. There’s also the added bonus of making it easier and safer to use existing OpenXC projects!
The design attempts to focus on three key ideas beyond simply holding the tablet/device in position and giving you access to charging ports/buttons:
The mount was printed on a Projet from CAD files you can download from github.
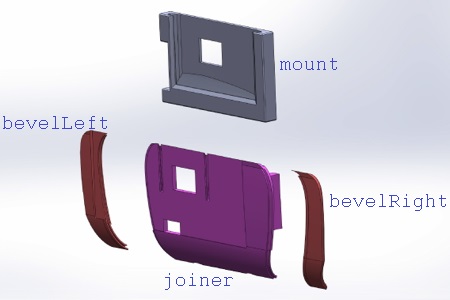
joiner refers to the part that is screwed onto the car’s center stack itself.
mount refers to the part that interfaces between joiner and the tablet.
As joiner was too large to print flat on the Projet, it was split into
joinerMiddle, bevelLeft and bevelRight.mount for a different device, be sure to orient the buttons facing the
driver, and also give access to charging ports and buttons.joiner and mount could be improved by opening it
(removing the back face), making it easier to remove filler.joiner is attached to the car with 4 bolts through the back of the center stack
into
brass threaded inserts
which were melted into joiner.
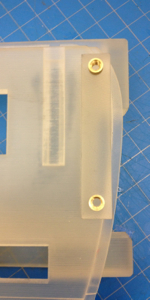
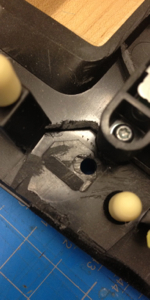
Spraypaint is a nice finishing touch.
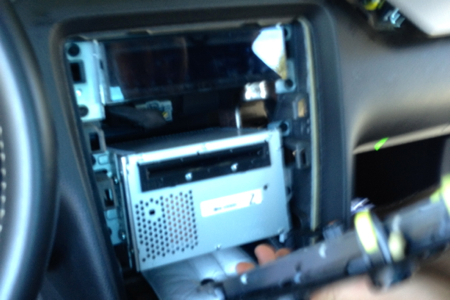
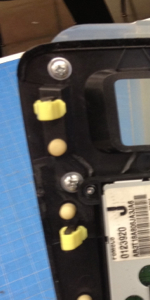
Mounting the assembly required nearly no modification to the center stack, with the acception of drilling four holes. Removing the center stack was a very quick and easy process and required nothing but a 7mm socket wrench.
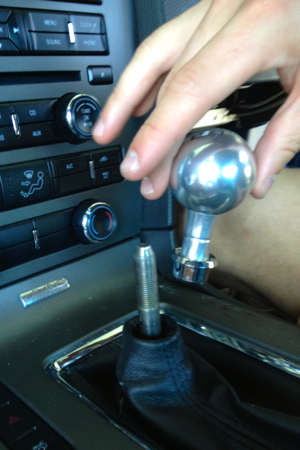
Unscrew the top of the gear shifter.
Lift up the center console, pulling initially from the cupholder region.
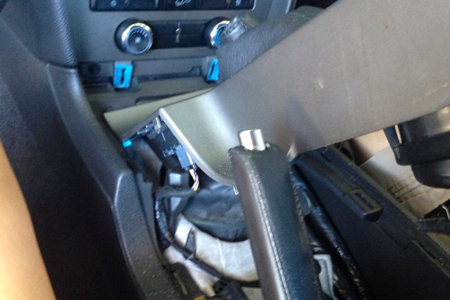
Using a 7mm socket wrench, remove the bolts at the bottom of the center stack. Then pull the stack from the dashboard.