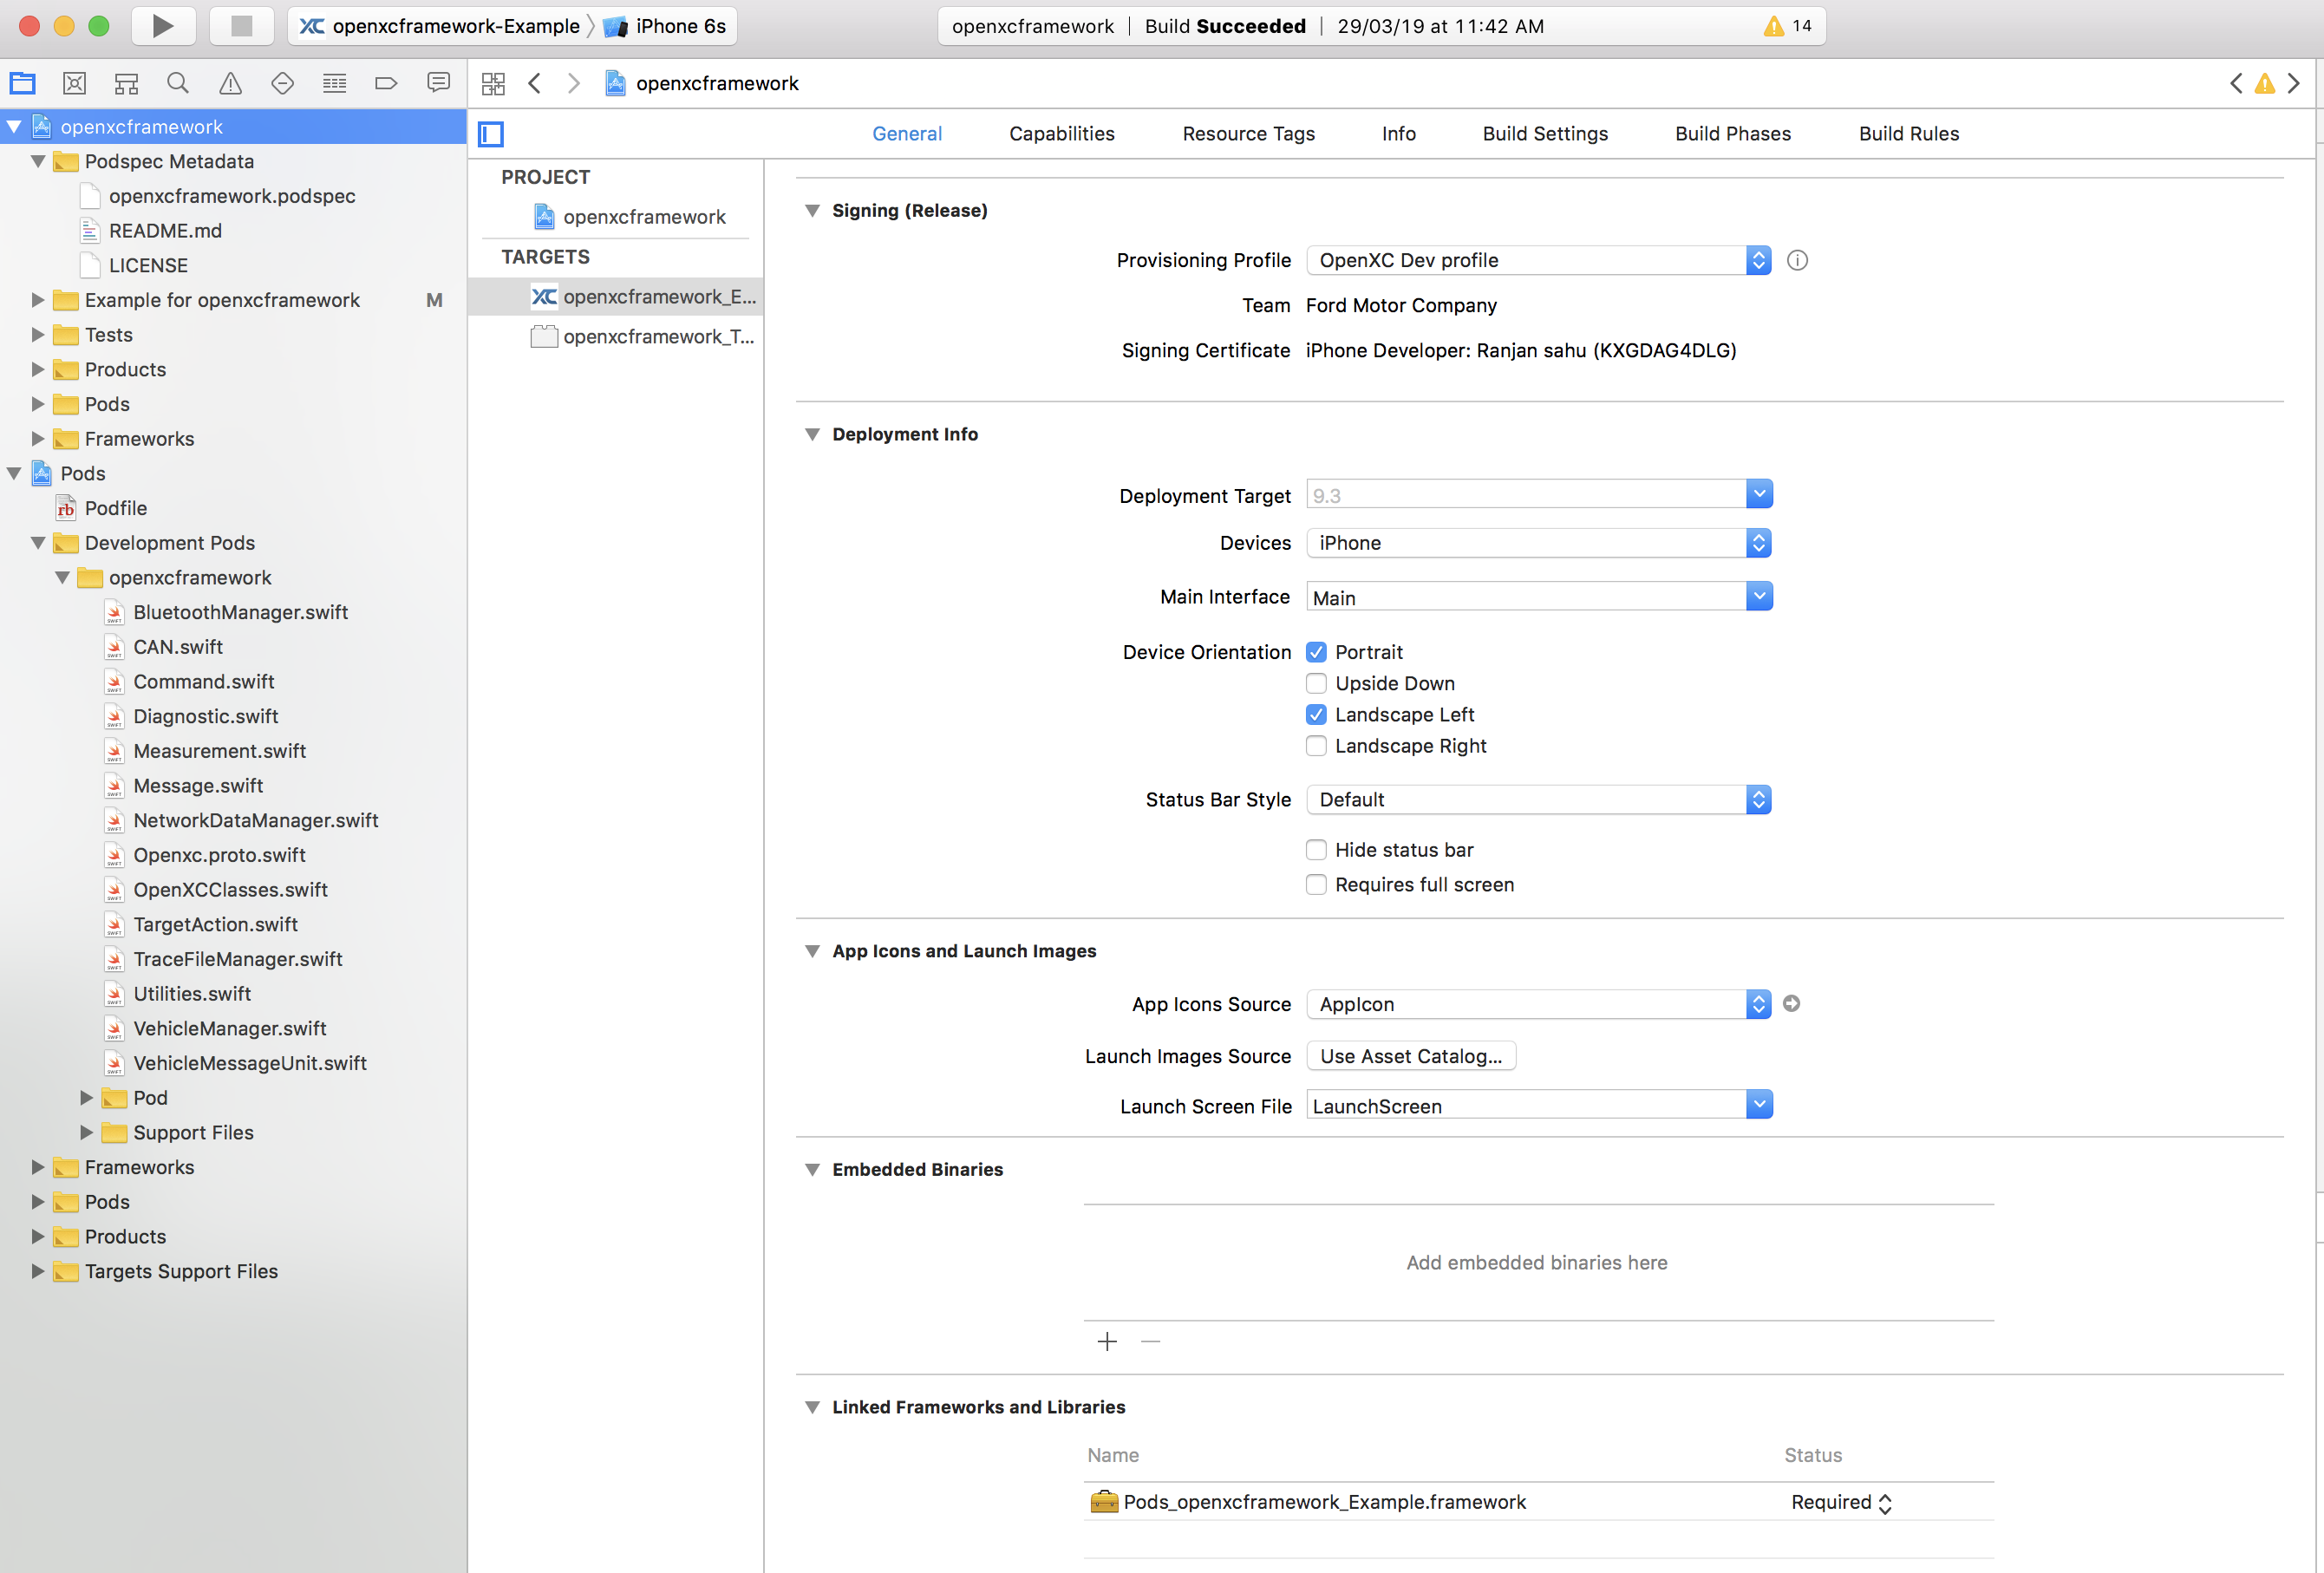
This tutorial assumes you have a working knowledge of how to create an iOS application. Setting up the development environment and understanding iOS fundamentals is outside the scope of OpenXC, and already Apple provides great documentation and tutorials - we won’t repeat them here. The best place to start is Apple’s Developer Guide.
Once you’re comfortable with creating an iOS app, continue on with this tutorial to enrich it with data from your vehicle.
cd openxc-ios-library/Example.sudo gem install cocoapods.pod install from terminal. Note: may take a while.The OpenXC demo app can be your starting point. Frameworks must be added in the demo app. This is already done. But to make your own app from scratch, go to XCode and add openxc framework, protobuf framework in your app.

You can now proceed to the next steps to start using the library in your project.
The StatusViewController is the root controller of OpenXC demo application.
var vm: VehicleManager!Instantiate VehicleManager inside viewDidLoad
vm = VehicleManager.sharedInstance
Setup callbacks
// setup the status callback, and the command response callback

vm.setManagerCallbackTarget(self, action: StatusViewController.manager_status_updates)
vm.setCommandDefaultTarget(self, action: StatusViewController.handle_cmd_response)
Use this to switch on debug output
vm.setManagerDebug(true) Now, when your app starts it will also start the OpenXC VehicleManager and if the Demo App is running, it will be ready to receive data from the vehicle.
The application now has a connection to the vehicle service, and we want it to be
notified for all signals and responses. Look for the
handle_cmd_response object in the StatusViewController:
func handle_cmd_response(_ rsp:NSDictionary) {

// extract the command response message
let cr = rsp.object(forKey: "vehiclemessage") as! VehicleCommandResponse

/** update the UI depending on the command type
*** version,device_id works for JSON mode, not in protobuf - TODO
*/
var cvc:CommandsViewController?
let vcCount = self.tabBarController?.viewControllers?.count
cvc = self.tabBarController?.viewControllers?[vcCount!-1] as! CommandsViewController?

if cr.command_response.isEqual(to: "version") {
	DispatchQueue.main.async {
		self.verLab.text = cr.message as String
		}
		cvc?.versionResp = String(cr.message)
	}
	if cr.command_response.isEqual(to: "device_id") {
		DispatchQueue.main.async {
			self.devidLab.text = cr.message as String
		}
		cvc?.deviceIdResp = String(cr.message)
	}
}
Every time command response is received by the VehicleManager, the handle_cmd_response(_ rsp:NSDictionary))
method will be called with the data.
Lastly, the Demo app adds one more element to the user interface so there’s a place to display the measurement messages.
Once the callback is set to receive measurement change, response will be in VehicleMeasurementResponse format. Measurement can be simple or evented. Please see openxc-message-format for more details
That’s all you need to do to get measurements from OpenXC.
You’ve now completed the OpenXC iOS tutorial, but there’s more to learn about supported iOS devices and vehicle interfaces. You can also check out the iOS API Guide for more information on how to use the API. If you are having trouble, check out the troubleshooting steps.